Friday, 11 February 2011

SORTING SHAPES / CLASSIFICAR FORMES


Aqui teniu una tutorial d'una activitat per fer amb els vostres petits. Tenia molt d'exit amb els meus alumnes quan ensenyava en una aula Montessori. No forma part del material de Montessori pero segueix la mateixa linea d'aillar el concepte que es vol ensenyar, que en aquest cas son tres figures geometriques: cercle, triangle i quadrat.

Es important utilitzar nomes un color per aillar les figures. Si cada figura tingues un color diferent, no sabriem si estan classificant per colors o per figures. Si volguessiu ensenyar els colors, haurieu d'utilitzar nomes una figura i els diferents colors que volgueu ensenyar.

Here's a tutorial for an activity to do with the little ones. It was very popular with my pupils in a Montessori classroom where I used to teach. It is not part of the Montessori material, but it follows the same method of isolating the concept you want to teach, which in this case are three geometrical shapes: circle, triangle and square.

It is important to use the same colour to isolate the shape. If you used a colour for each shape, you wouldn't know if the child is sorting it by colour or by shape. If you wanted to teach colours, you would use one shape only and the different colours you want to teach.


Material
5 plats de paper
tisores
llapis
regle
grapadora
cola de barra
cartulina d'un color
plastificadora (o podeu portar-ho a plastificar)

Material
5 paper plates
scissors
pencil
ruler
stapler
glue (bar)
card (one colour)
laminator


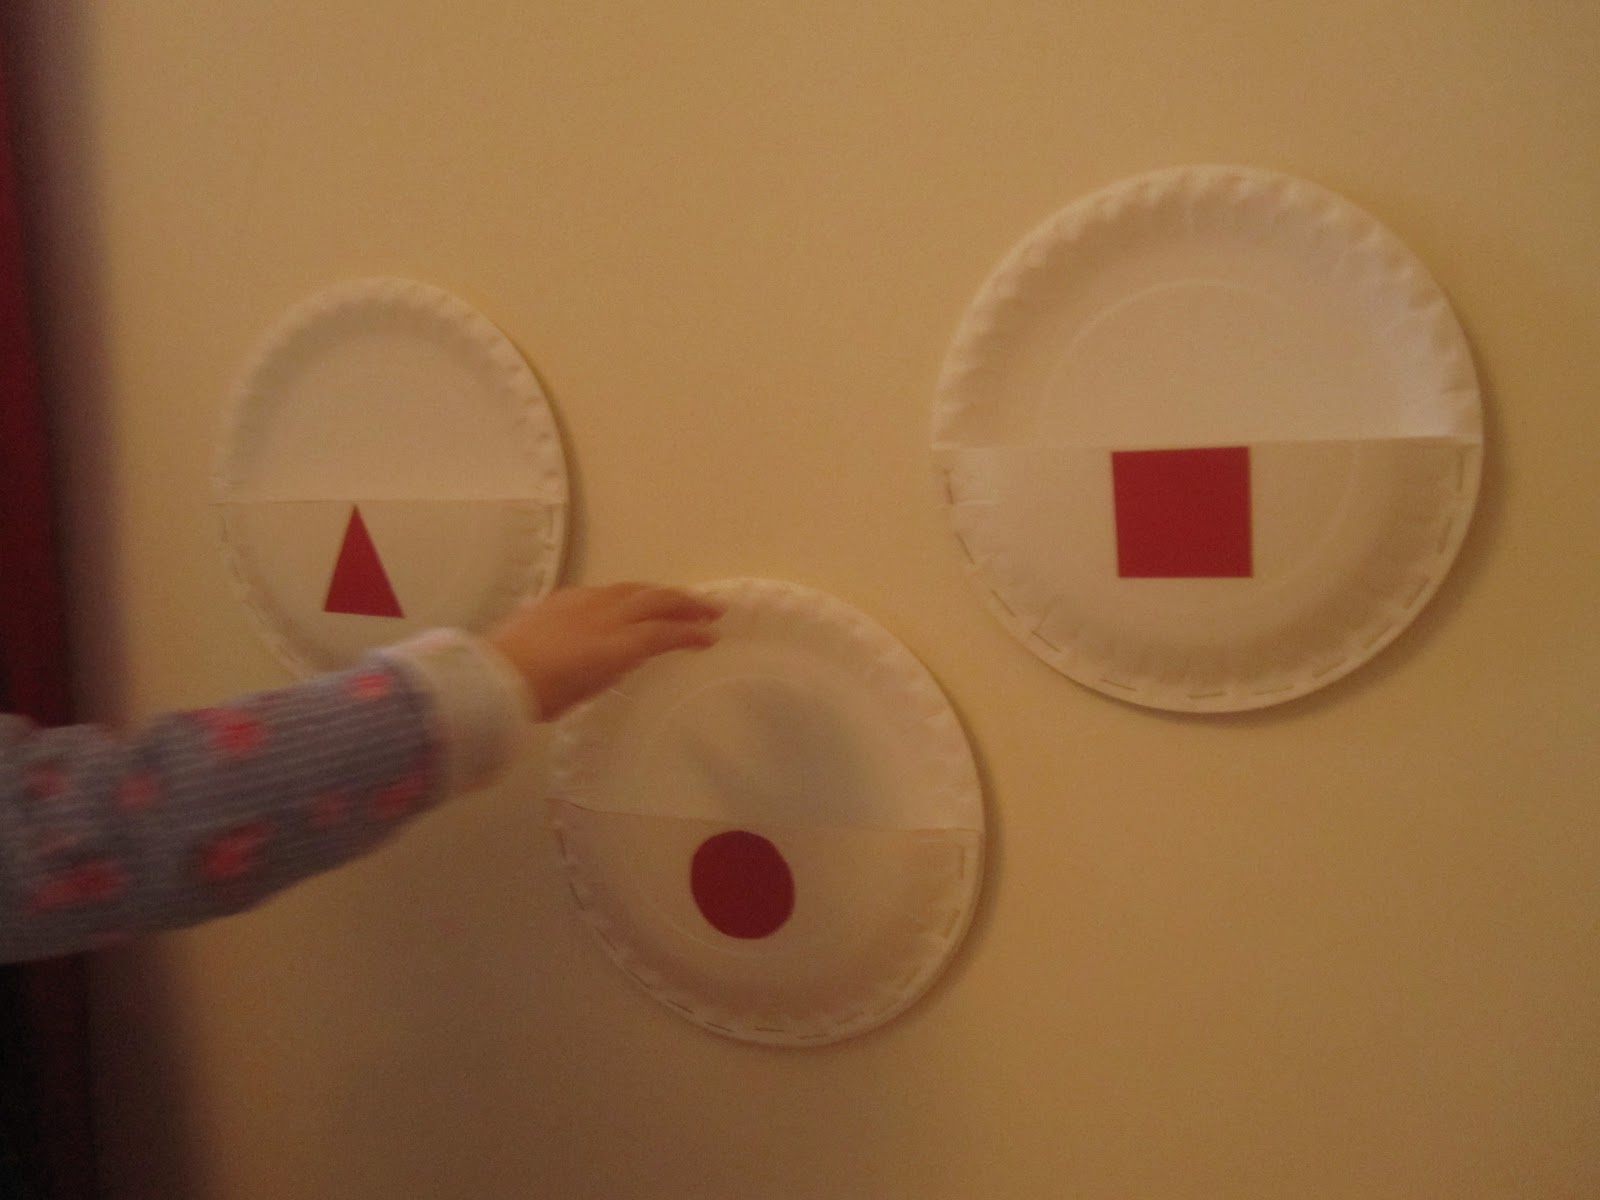
Talleu dos plats per la meitat i grapeu una de les meitat sobre un plat sencer amb les cares oposades per formar una mena de butxaca. Feu 3 butxaques, una per cada figura.
Cut 3 plates in half. Staple one of the halves onto a whole plate facing opposite to each other to make a pocket.
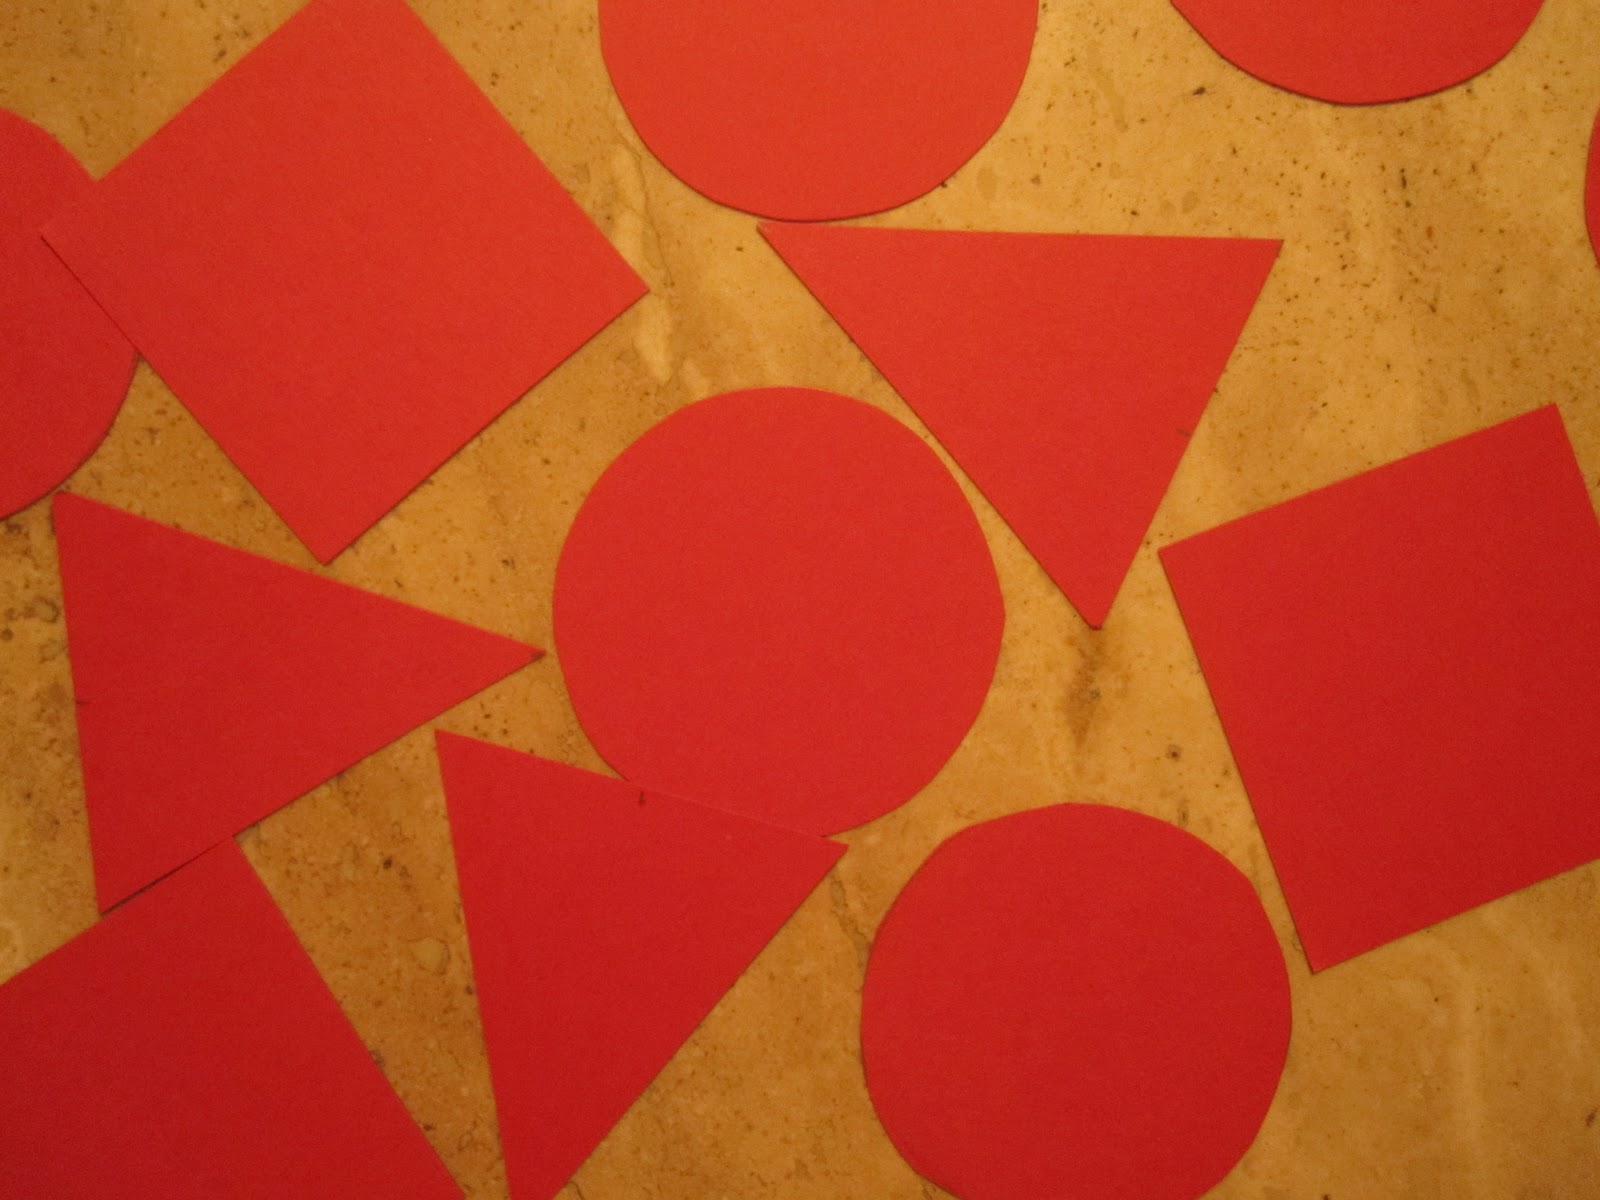


 Amb la cartulina, talleu quadrats, triangles i cercles que hi capiguen dins la butxaca.
Enganxeu una figura a cada butxaca. 
Cut triangles, squares and circles out of the card in a size so they fit into the pocket.
Stick one of each shape onto each pocket.


Plastifiqueu la resta de les figures de cartulina.
Laminate the rest of the shapes.

Enganxeu els plats a qualsevol espai de paret que tingueu amb bluetack. ja estan preparats per omplir-los amb les seves figures.
Stick the plates onto any wall surface with blue tack. They're ready to be filled up with their shapes now.


variacions:
- podeu anar afegint figures a mida que les van aprenent.
- podeu fer servir aquest metode per ensenyar:
colors, 
estampats (amb paper de regal), 
numeros, 
lletres, 
paraules, 
vocabulari amb dibuixos o fotografies de diferents temes
(diferents fotos de gats, gossos, ocells, etc. per animals), roba, aliments, joguines... la llista es infinita!


variations:
- you could add more shapes as they learn.
- you could use this method to teach colours, patterns (with wrapping paper), numbers, letters, words, vocabulary with pictures, e.g. different pictures or even photos of cats, dogs, birds, etc. for animals, or food, clothes, toys... the list is endless!


Thursday, 10 February 2011

UN GORRO D'ALLO MES FACIL / AN EASY PEASY HAT


Fa temps que vaig fer aquest gorro, abans de Nadal, per un encarrec. Tambe em van demanar que ensenyes un tutorial per fer un gorro amb nomes dues agulles, i sense haver d'afegir ni menguar punts.  Vaig pensar que aquest seria el gorro mes facil que es pot fer amb dues agulles.
I made this hat a while ago, before Christmas. Someone asked me for a tutorial on how to make a hat with only 2 needles and without increasing or decreasing stitches. So here it is, the easiest hat ever!


Mesureu la circumferencia del cap. Feu un quadre de tensio per veure els punts que necessiteu i amb un punt del dret i un del reves, feu un rectangle. (La longitud depen de si voleu doblec o no, jo anava provant amb el meu cap a mesura que anava fent)
Measure the head circumference and knit a tension square to know how many stitches you need. Knit rows of : *p 1, k1* to create a single rib pattern. Knit a rectangle. The length will depend on whether you want a fold or not (I kept trying it on myself to see what length I wanted)


 Quan tingueu la llargada que voleu, cosiu els costats.
When you have your desired length, sew the side seams.


 Cosiu la part posterior amb un punt correder.
Sew the top with a running stitch.


 Tibeu la llana per que s'arrugui i feu unes quantes puntades perque quedi tancat.
Pull the yarn and sew a few stitches to keep it closed.


Acabat
Finished


Sunday, 6 February 2011

AltErinG... fiRsT AtTemPt... / TuNINg PRimEr iNtEnt...


La Hana esta creixent molt rapid i hi ha un munt de roba que vaig empaquetant per donar-la. Pero tambe hi ha peces que me les quedo, altres que vull fer servir com a patrons i despres n'hi ha d'altres que m'agradaria fer-ne alguna cosa. 
No em surt gaire be aixo de "tunejar", pero es que mai no ho havia intentat.
Aqui teniu el meu primer intent: d'uns pantalons de pana a una faldilla. Sembla facil...o aixo creia quan veia altres blogs!
M'ha servit per practicar les vores i fer repunts, pero el resultat final no ha sigut com m'esperava. Es dificil prendre mides a una nena de quasi dos anys que no para quieta quan li ho demanes... i com que no tenia una faldilla que pogues prendre com a mida... aixi m'ha sortit!
Tinc molts mes pantalons que li van curts aixi que hi haura mes intents.


Hana is growing very fast and I have a good amount of clothes that I'm packing for the charity shop. There are some items that I like to keep and others that I use as patterns or even try to alter them and make them into something else.
I'm not very good at making them into something else, but I haven't really tried.
Here's my first attempt: from corduroy pant to a skirt. It looks easy... or so it seemed to me when I saw it on other blogs...!
I could practice folding and sewing hems, topstitching and little things like that. But the final product was not like I expected. It is very difficult to measure an almost 2 year old girl who doesn't stand still when you ask her to. I didn't have a skirt that I could use as a guide either... so well...
I have more pants that are too short for her, so there will be more attempts.


Aixo es el que he fet
This is what I did


 descosir les costures,  tallar a la llargada que vull i marca les costures del davant i darrere
open the seams, cut to the desired length and mark the new front and back seams


Fer la vora
Make a hem 


Cosir les costures del davant i del darrere
 Sew the front and back seams


 Fer un repunt
Topstitch


 I la pobra no pot caminar!
And the poor thing can't even walk!


que hauria d'haver fet?
what should I have done?


Vaig intentar escurc,ar-la una mica al veure que quan caminava se li doblegava uns dos cm cap amunt. pero quan ho vaig fer, vaig pensar de deixar-li un tall, per obrir mes i ja em va sortir un xurro que ni ho ensenyo!!!ha ha!
Ja ho tornare a intentar...


I tried to fix it by shortening it a wee bit beacuse I saw that when she was walking it naturally folded itself up an inch. But when I did it, I thought it would be a good idea to make a vent, and that was a total fiasco! Don't even want to take a photo of that!


I'll try again....

Saturday, 5 February 2011

MES BLOCS - MORE BLOCKS

bloc 6

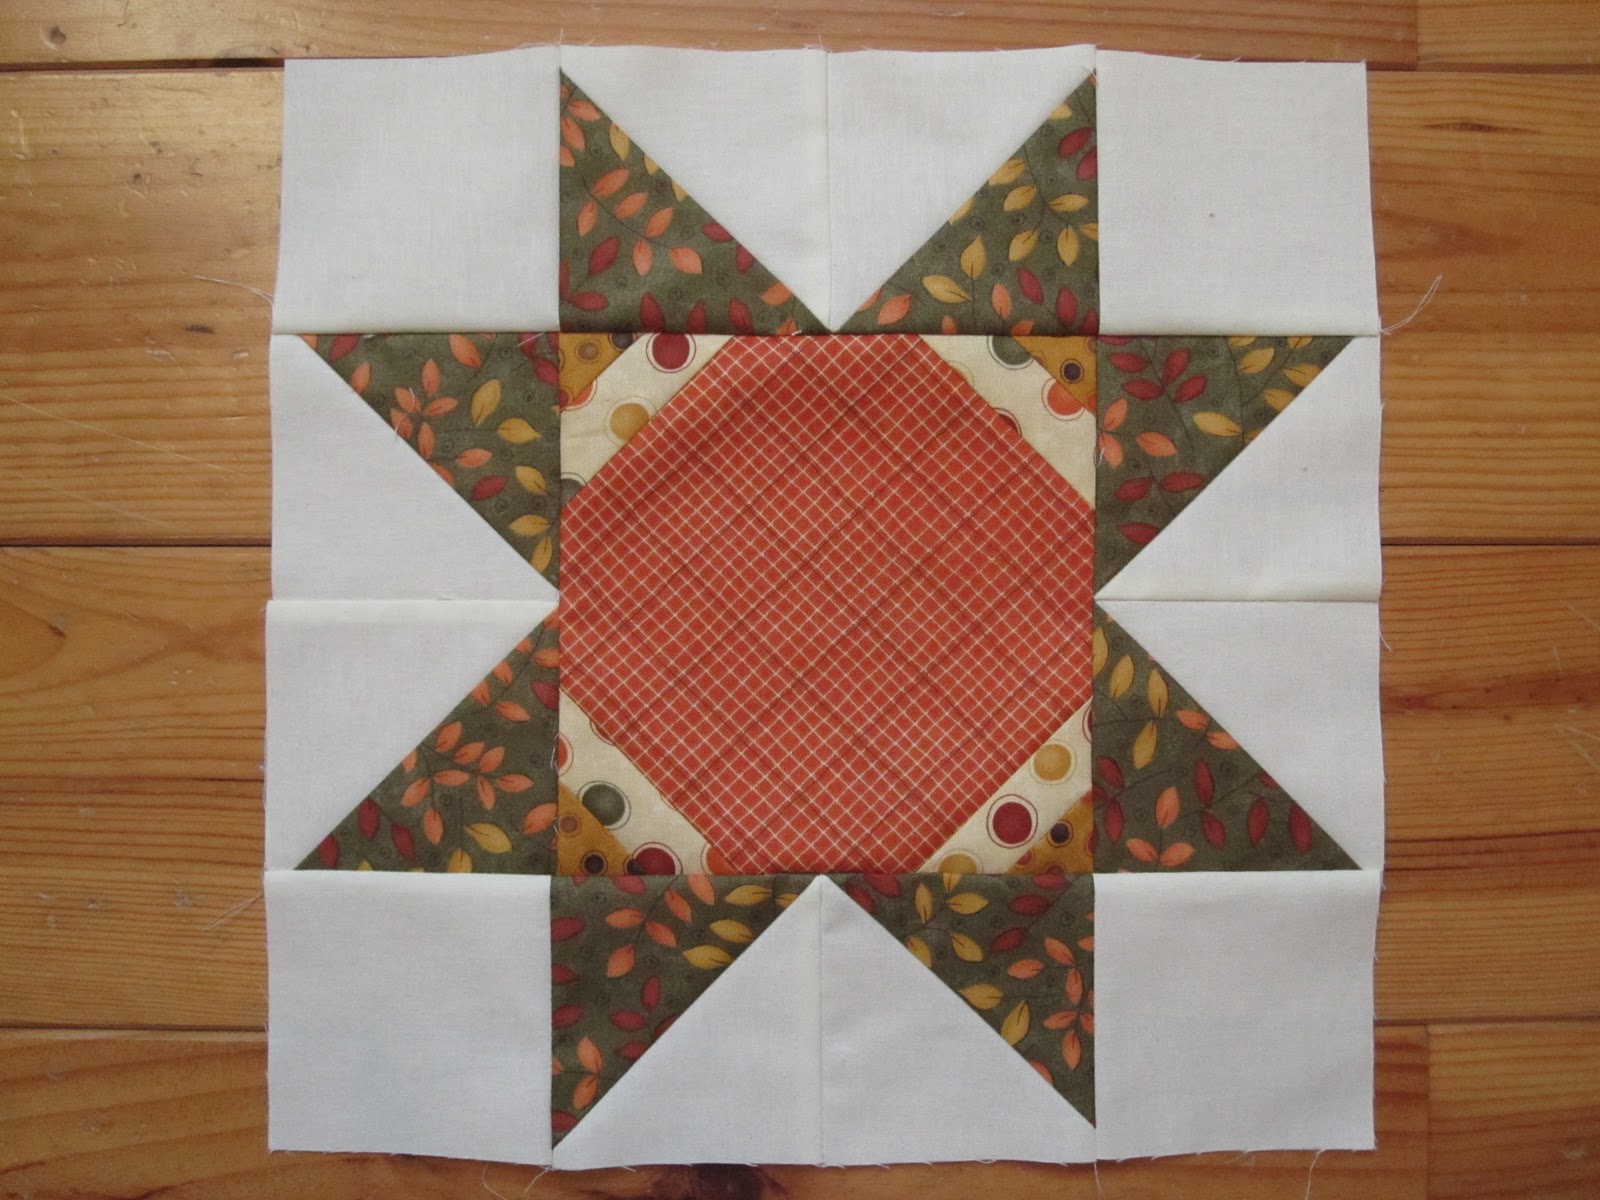
Em falten dos blocs mes per posar-me al dia amb el quilt long de The Moose on the Porch. Aquest cap de setmana la maquina esta treient fum!
Per fi he pogut esbrinar el problema que tenia amb la tensio, es que no posava be el fil de dalt... (problema tipic de principiant amb maquina nova... )
i quina diferencia ara! el soroll que fa es tan diferent, ja deia jo que alguna cosa no anava be.

bloc 3


I have 2 blocks left to catch up with the quilt along from The Moose on the Porch. This weekend my sewing machine is going at full steam! I finally found out what was wrong with the tension. Of course it was my fault, I wasn't threading the upper threat right. New machine and not quite experienced yet... recipe for disaster LOL. What a difference now, even the noise is different!I knew there was something that wasn't right.


bloc 6

Aqui podeu veure els blocs 3 i 6 . El bloc 6 m'agrada forc,a.  Sempre tiro per les figures geometriques jo... Pero segueixo tenint problemes alhora de cosir en diagonal i fer triangles. Un cop planxat obert no m'acabava de quadrar del tot, pero tampoc es veu tant quan el bloc complet esta cosit.

bloc 3


Here you can see block number 3 and 6. I really like block 6, I made a variation with the second fabric choice. I'm always drawn by geometric shapes. I still have some trouble when I have to sew diagonally to make triangles. They never come out right when I press them open, but once the block was sewn it didn't look that bad.

Tuesday, 1 February 2011

KEN'S QUILT

Us recordeu d'aquest projecte?
do you remember this project?


Aqui teniu la resta!
Here's the rest!


Per fi! Ja he acabat el miniquilt per al Ken, que va neixer una mica abans del que esperavem, i ja el puc ensenyar. Dema anire a correus a enviar-lo cap a Barcelona.
He usat un charm pack de batiks i un panel amb animals de la jungla per fer els aplicats. La beta la vaig comprar feta, per falta de temps i no m'ha anat gens malament.
La Hana s'ha enamorat d'aquest quilt, li encanta assenyalar els animals i ha portat totes les nines per fer una festa i ballar a sobre... Espero que el Ken s'ho passi tan be com la Hana quan el rebi.


Finally! I finished the quilt for baby Ken, who arrived a bit earlier than expected, and now I can show it to all of you. I'll post it tomorrow to Barcelona.
I used a charm pack of batiks and a panel with jungle animals to make the appliqué squares. I bought the binding tape, as I was running out of time, and it turned out quite well.
Hana has fallen in love with this quilt, she loves pointing at the animals and she took all her dolls with her and had a party and a dance on it... I hope Ken has as much fun as she does!


Per primer cop he provat de fer l'encoixinat lliure, es tota una experiencia! M'ha agradat molt fer-lo. Primer he assajat amb un troc, de tela i de guata i despres ja m'hi he llenc,at amb el quilt. Se m'ha liat el fil mes d'una vegada perque no posava be la bobina (o aixo crec, vaja) , pero es questio de practica. 

It was my first time trying free motion quilting. I rehearsed first with some scraps and then I tried on the quilt. I love free motion! The thread tangled a bit because I didn't place the bobbin right (I think that was the problem anyway...), but I'll get better.


He pensat que estaria be ensenyar una mica el proces
It thought it would be good to show a bit of the process 


 no son corves perfectes...
they're not perfect bends...


aixo em va passar unes 3 vegades...
that happened 3 times...

.... i a poc a poc ja notes que vas millorant
...and bit by bit I was feeling I was getting better

Sunday, 30 January 2011

PANCAKES


There are two recipes that I know by heart (and for which I don't need scales anymore...) and are very easy and quick to do. You already know my scones... now it's the turn for pancakes.

ingredients

150gr self-raising flour
1 tsp baking powder
 25 gr caster sugar
a pinch of salt
250 ml milk
1 egg beaten

Hi hi ha dues receptes que les se de memoria (per les quals ja no necessito ni balances...) i que son molt facils i rapides de fer. Ja teniu la del meus scones... ara toca la dels pancakes.

ingredients

150 gr de farina 
1 culleradeta de llevadura Royal
25gr sucre
un polsim de sal
250 ml de llet
1 ou batut

1. En un bol, tamiseu la farina, la llevadura, el sucre i la sal. Feu un clot al mig i afegiu la llet i l'ou barrejats, rememant a poc a poc per formar una massa homogenia.

1. In a bowl, sift the flour, baking powder, sugar and salt. Make a well in the centre and add the milk and egg together, mixing slowly until you have a smooth batter.

2. Calenteu una paella petita (si es prou bona no us caldra posar mantega perque no s'enganxin, si no, feu servir la que necessiteu) i aboqueu una mica de massa per fer els pancakes.


2. Heat a non-stick pan  and pour some of the batter to make pancakes. If the pan is good enough, you should not need butter, but you may use it if you feel you need to.

3. Quan comencin a apareixer bombolletes, els doneu la volta i els deixeu coure durant un o dos minuts mes.


3. When bubbles start coming up, flip the over and leave them for one or two more minutes.

4. Serviu-los calents, amb xarop d'auro, sucre i llimona o el que volgueu. (Jo faig servir el xarop)


4. Serve them hot with maple syrup, sugar and lemon or anything you like. I like maple syrup (too much).


Podeu doblar les mesures i guardar la massa a la nevera pel dia seguent. S'espessira i potser haureu d'afergir una mica de llet.


You may double the amount and keep the mix in the fridge. It will probably thicken, but you can add a tiny bit of milk.

Sunday, 23 January 2011

BIT BY BIT... - DE MICA EN MICA... (LCQA)

I'm catching up with my projects. Here's block number 4 from the LAyer Cake Quilt Along. Number 3, 5 and 6 are on the way. That's what happens when you're well behind with a quilt along, you're collecting instructions and then you can alter the order of making the blocks...


Estic avanc,ant feina. Ja tinc el bloc numero 4 fet del Layer Cake Quilt Along. El 3, 5 i 6 estan en progres. Aixo es el que passa quan vas endarrerida amb un quilt along, comences a col.leccionar instruccions i aixi pots alterar l'ordre en que pots fer els blocs...


LinkWithin

Related Posts Plugin for WordPress, Blogger...